Rabbit Pose — Sasangasana in Sanskrit — is posture 23 in the Bikram yoga sequence. It follows Camel Pose and serves as its direct physiological counterpose: where Camel creates maximum spinal extension, Rabbit creates maximum spinal flexion. Together, they form the most complete spinal conditioning pair in the 26&2 sequence.
Most practitioners either underestimate Rabbit Pose or struggle with it for months before understanding what it is actually asking the body to do. This guide covers the purpose of the posture, its specific benefits, how to perform it correctly, the most common mistakes, and how to modify it for different levels of flexibility and spinal mobility.
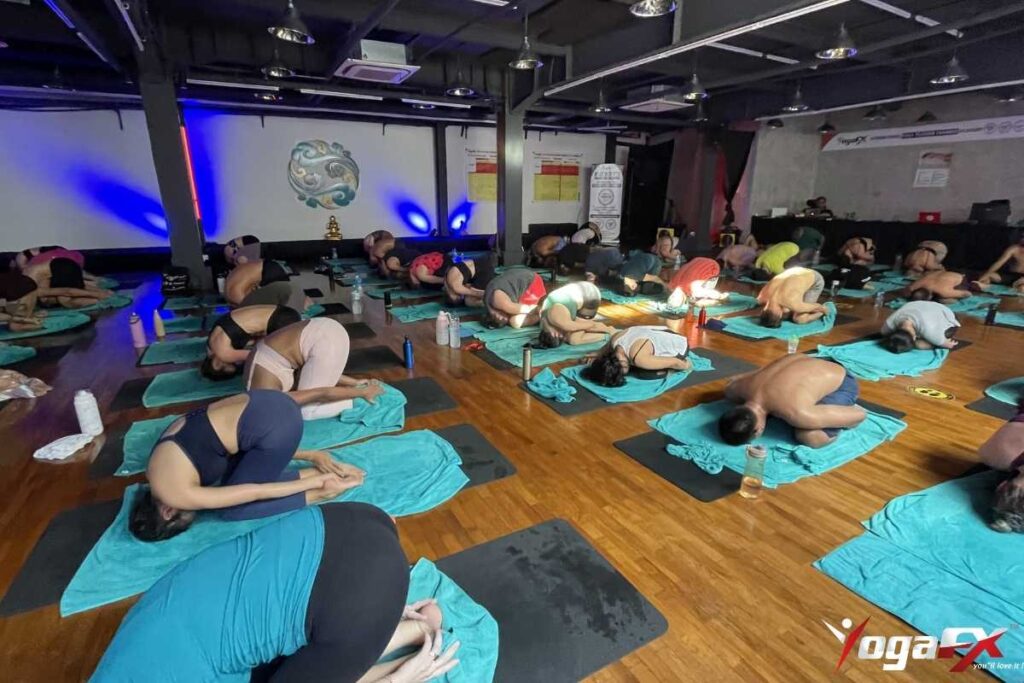
Rabbit Pose (Sasangasana) is a deep forward fold from kneeling in which the forehead touches the knees, both hands grip the heels, and the spine creates maximum flexion. It is the direct counterpose to Camel Pose and the deepest spinal flexion in the Bikram sequence. Primary benefits: decompresses the posterior spine, stretches the cervical spine and neck, balances the nervous system after Camel stimulation, and stimulates the immune system through thyroid compression. Hold time: 20 seconds, 2 sets.
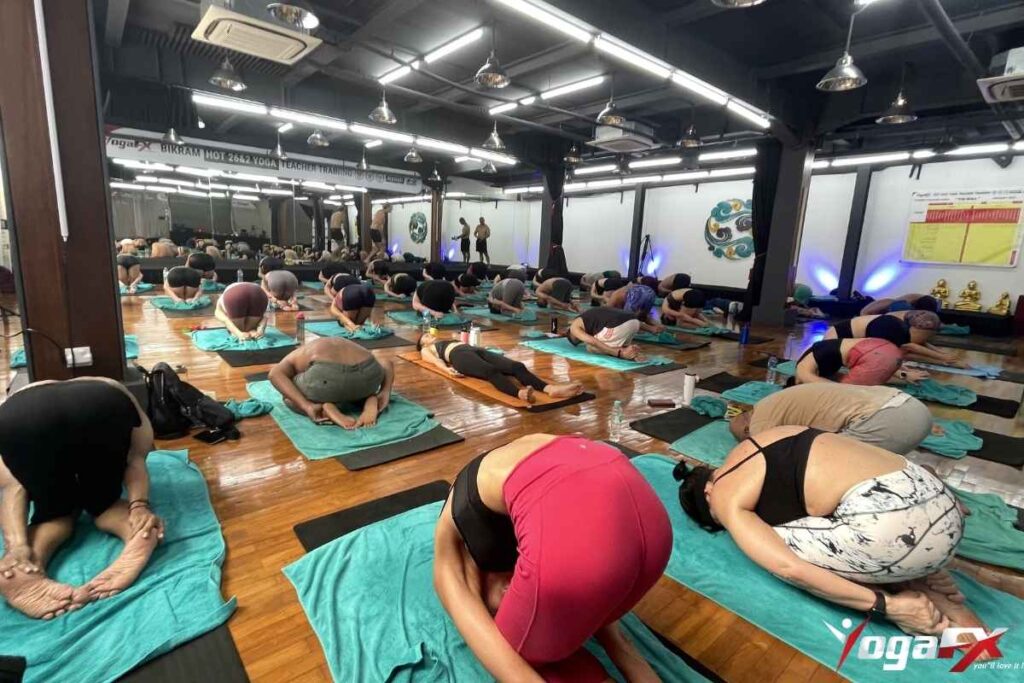
Where Rabbit Pose Sits in the Bikram Sequence
Rabbit Pose appears as posture 23, immediately following Camel Pose (posture 22). This placement is not arbitrary — it is the most important sequencing relationship in the floor series. Understanding why Rabbit follows Camel explains what the posture is designed to do.
Camel Pose creates maximum spinal extension — a deep backbend that compresses the posterior vertebrae, opens the anterior body completely, and stimulates the nervous system significantly. Many practitioners experience a rush of emotion, brief dizziness, or intense energy release in Camel. This is a well-documented physiological response to the combination of deep thoracic extension and the cardiovascular position of the posture.
Rabbit Pose immediately reverses this: it creates maximum spinal flexion, decompresses the posterior vertebrae that Camel compressed, and calms the nervous system that Camel stimulated. The two postures together create a complete spinal conditioning cycle — extension followed by flexion — that no other posture pair in the sequence replicates.
Primary Benefits of Rabbit Pose
1. Maximum Spinal Decompression
The Bikram sequence includes many postures that load the spine — the backbend series (Cobra, Locust, Full Locust, Bow, Camel) compresses the posterior vertebral surfaces repeatedly. Rabbit Pose reverses this by creating maximum spinal flexion, which opens the posterior vertebral spaces and allows the spinal discs to rehydrate and decompress. For practitioners with chronic lower back tightness or mild disc compression, this decompression effect is one of the most therapeutically significant aspects of the posture.
2. Cervical Spine and Neck Stretch
Rabbit Pose creates one of the most complete cervical spine stretches available in any yoga format. The combination of the deep forward fold, the chin tucked to the chest, and the active pulling of the heels toward the floor elongates the entire posterior cervical chain from the base of the skull to the upper thoracic vertebrae. Practitioners who carry significant tension in the neck and upper back — desk workers and digital nomads especially — consistently report immediate relief after a properly executed Rabbit Pose.
3. Nervous System Regulation After Camel
The stimulating effect of Camel Pose on the sympathetic nervous system is well-documented in hot yoga practice. Rabbit Pose activates the parasympathetic response — the rest-and-digest system — through the forward fold position, the compression of the abdominal region, and the reduction in cardiovascular demand. Heart rate drops measurably during a correctly held Rabbit Pose. This transition from sympathetic (Camel) to parasympathetic (Rabbit) is one of the reasons the sequence produces the nervous system regulation benefits documented in hot yoga research.
4. Thyroid and Parathyroid Stimulation
In full expression of Rabbit Pose, the forehead is pressed firmly against the knees and the chin is tucked deeply toward the chest — creating significant compression of the anterior neck and thyroid region. Traditional hot yoga instruction attributes immune and metabolic benefits to this compression-and-release effect on the thyroid and parathyroid glands. The thyroid stimulation rationale is consistent with the broader anatomical function of the posture.
5. Shoulder and Upper Back Release
The grip on both heels with arms fully extended behind the body creates a sustained stretch through the posterior shoulder complex, upper back, and scapular region. Combined with the forward fold position, this provides one of the most complete posterior upper body stretches in the sequence — particularly beneficial for practitioners who carry tightness through the rhomboids, posterior deltoids, and trapezius from sedentary work postures.
How to Perform Rabbit Pose: Step-by-Step
Starting Position
Begin in Savasana after completing Camel Pose. From lying flat, sit up into a kneeling position with knees and feet together, sitting directly on the heels. The spine is upright.
Entering the Posture
Reach both hands back and grip the heels firmly — thumbs on the outside of each heel, fingers wrapped around the inside. This grip is the foundation of the posture. Without a firm heel grip, the subsequent forward fold becomes a passive collapse rather than an active spinal traction.
Tuck the chin firmly to the chest. This cervical flexion initiates the top of the spinal arc and creates the conditions for full posterior cervical stretch.
Round the spine forward from the top, bringing the forehead to the knees. As the forehead contacts the knees, continue to round — the forehead should press firmly against the knees, not rest lightly.
The Active Hold
Once in position, lift the hips toward the ceiling. This is the active element that most practitioners miss or underexecute. The lifting of the hips away from the heels while maintaining the heel grip and forehead-to-knees contact is what creates the spinal traction that produces Rabbit Pose's decompressive effect. Without the hip lift, the posture is a passive forward fold — with the hip lift, it becomes an active spinal stretch.
Breathe slowly and continuously throughout the hold. The abdominal compression in this position restricts breath volume — breathe into the upper chest and maintain the hold for the full 20 seconds.
Exiting the Posture
Release slowly and with control. Lower the hips back to the heels first, then release the heel grip, then lift the forehead from the knees and return to an upright kneeling position. Do not snap out of the posture — the cervical spine needs to return to neutral gradually.
Alignment Guide
| Body Part | What It Should Do | Common Error |
|---|---|---|
| Forehead | Pressed firmly against the knees — active contact, not resting | Forehead floating above the knees — no spinal traction occurs |
| Chin | Tucked deeply toward the chest throughout | Chin lifting — reduces cervical stretch |
| Hands | Gripping both heels firmly — thumbs outside, fingers inside | Gripping the ankles or shins — reduces the stretch arc |
| Hips | Lifting away from the heels actively — creates spinal traction | Hips staying on heels — posture becomes passive, loses traction benefit |
| Spine | Maximum rounding from top to bottom — C-curve throughout | Flat back — wrong shape entirely; this is not a flat-back forward fold |
| Knees | Together and pressed against the forehead | Knees separating — loses the forehead contact point |
| Elbows | Straight — full arm extension creates maximum arc | Bent elbows — reduces the stretch through shoulder complex |
The Most Common Mistakes in Rabbit Pose
Mistake 1: Not Lifting the Hips
This is the most significant technical error and the one that most reduces the posture's benefit. Without the active hip lift, the posture is a passive forward fold with minimal spinal traction. The instruction to lift the hips feels counterintuitive — you are pulling the heels while lifting away from them simultaneously. This tension is exactly the mechanism that creates the spinal stretch. If your hips remain on or near your heels throughout, you are not performing Rabbit Pose at its intended depth.
Mistake 2: Gripping the Ankles Instead of the Heels
The grip point matters. Gripping the ankle — the bony prominence — or the shin rather than the heel changes the angle of pull and reduces the spinal arc. The heel grip creates a specific leverage relationship between the arms, the shoulders, and the spine that ankle or shin gripping does not replicate. If you cannot reach the heels initially, use the modification below rather than substituting a different grip point.
Mistake 3: Letting the Forehead Float
A forehead that rests lightly on the knees rather than pressing actively against them produces a much shallower spinal flexion arc than intended. In full Rabbit Pose, the forehead is pressed firmly enough against the knees that the body forms a tight, rounded C-shape. If your forehead is not in contact with your knees at all, use the beginner modification below.
Mistake 4: Flat Back
Rabbit Pose is a rounded-spine posture. The entire posterior spine from the base of the skull to the sacrum should be as rounded as possible — maximum convexity. Practitioners who attempt Rabbit with a flat back (from habits formed in other yoga styles where spinal neutrality is emphasised) are performing the wrong shape entirely. The goal is the deepest possible C-curve.
Modifications for Different Levels
Beginner: Forehead Does Not Reach the Knees
If your spine is not yet flexible enough to bring the forehead to the knees with both hands gripping the heels, place the hands on the outside of the knees rather than gripping the heels. Rest the forehead as low as it comfortably goes. Focus on the rounding of the spine and the chin-to-chest position. As spinal flexibility develops across weeks and months of consistent practice, the heel grip becomes accessible.
Intermediate: Can Reach Heels but Hips Stay Down
If you can grip the heels but the hip lift feels impossible or minimal, focus on it specifically. Begin the hip lift by pressing the top of the head more firmly into the knees — this tends to reflexively encourage the hips upward. Even a small hip lift (a few centimetres off the heels) activates the spinal traction that is absent when the hips stay flat.
Advanced: Full Expression
In full expression, the forehead presses firmly against the knees, the hips are lifted several inches above the heels, the arms are fully extended gripping the heels, and the entire spine creates a complete, even C-curve with no flat sections. Practitioners at this level can focus on the breath — maintaining slow, even chest breathing in the constrained position for the full 20 seconds.
How Rabbit Pose Changes With Consistent Practice
Rabbit Pose is one of the postures in the 26&2 sequence that shows the clearest measurable progression across months and years of practice. In the first weeks, most practitioners cannot fully grip the heels, the forehead does not reach the knees, and the hip lift is minimal. By month 2–3 of consistent practice, spinal flexion improves and the heel grip becomes accessible. By month 6, the posture begins to feel like what the dialogue describes rather than an approximate version of it.
This visible progression is one of the reasons Bikram yoga practitioners frequently cite Rabbit Pose as one of the most satisfying postures in the sequence to develop — the improvement is concrete and measurable in a way that subtler postures are not.
FAQ
What is the purpose of Rabbit Pose in Bikram yoga?
Rabbit Pose serves as the direct counterpose to Camel Pose — the posture immediately before it. Where Camel creates maximum spinal extension, Rabbit creates maximum spinal flexion. Together they form a complete spinal conditioning cycle. Rabbit specifically decompresses the posterior spine after the backbend series, stretches the cervical spine and neck, and calms the nervous system after Camel's stimulating effect.
Is Rabbit Pose difficult for beginners?
It is challenging for most beginners, primarily because of limited spinal flexion and the unfamiliar hip-lift mechanic. Most beginners cannot initially grip both heels while bringing the forehead to the knees. The modification — hands on the outside of the knees rather than gripping the heels — makes the posture accessible from the first class. The key benefit (spinal rounding and cervical stretch) is available at every level of flexibility.
Why does Rabbit Pose feel so different from other forward folds?
Because it is not a conventional forward fold. The distinguishing features are: starting position on the knees rather than seated or standing, the heel grip creating a fixed leverage point, the active hip lift creating spinal traction, and the chin-to-chest position creating simultaneous cervical and thoracic flexion. These elements combined create a spinal decompression effect that passive forward folds do not produce.
Can Rabbit Pose help with lower back pain?
For many practitioners, yes. The decompressive effect on the posterior vertebral spaces can provide relief from lower back tightness associated with spinal compression and sedentary postures. Practitioners with diagnosed disc conditions or structural spinal issues should consult a physician before practicing the full version with hip lift. The modification (hands on knees, minimal forward fold) is accessible to most practitioners regardless of lower back history.
How do I know if I'm doing Rabbit Pose correctly?
Three signs indicate correct execution: the forehead is actively pressing against the knees (not floating), the hips are lifted away from the heels (creating spinal traction), and the spine is rounded into a complete C-curve with no flat sections. If you feel a deep stretch across the entire posterior spine from the base of the skull to the sacrum, you are in the correct position. If the stretch is primarily in the hamstrings or lower back only, the hips are likely too low and the spinal arc is incomplete.