

Are you ready to explore the transformative world of Bikram Yoga poses? Look no further! In this guide to Bikram Yoga poses, we will delve into the dynamic and invigorating sequence that comprises this unique yoga practice. Bikram Yoga, also known as Hot Yoga, features a specific set of 26 poses and 2 breathing exercises designed to work every part of your body, inside and out. With the practice performed in a heated room, these poses unlock the power within, promoting flexibility, strength, balance, and mental clarity. Join us as we dive into the transformative realm of Bikram Yoga poses, unveiling their remarkable benefits and guiding you on a journey to holistic well-being.

Understanding Bikram Yoga
Bikram Yoga, developed by Bikram Choudhury, is a dynamic form of yoga that combines specific postures and controlled breathing in a heated room. The heat, typically set at 40 degrees Celsius (104 degrees Fahrenheit), allows for deeper stretching, increased flexibility, and enhanced detoxification. The 26 poses and 2 breathing exercises in the Bikram Yoga sequence are carefully designed to work synergistically, providing a comprehensive workout for the body and mind.
“WHAT A PRICELESS VALUE THIS IS TO LIVE SPIRITUALLY FREE”
Benefits of Bikram Yoga Poses
The practice of Bikram Yoga poses offers a wide range of benefits for practitioners. Through the combination of heat, specific postures, and controlled breathing, individuals can experience increased flexibility, improved range of motion, and enhanced muscle strength. The heat also facilitates detoxification by promoting sweating and the release of toxins from the body. Regular practice of Bikram Yoga poses can lead to improved cardiovascular health, weight management, and enhanced mental clarity.

Exploring the 26 Bikram Yoga Poses
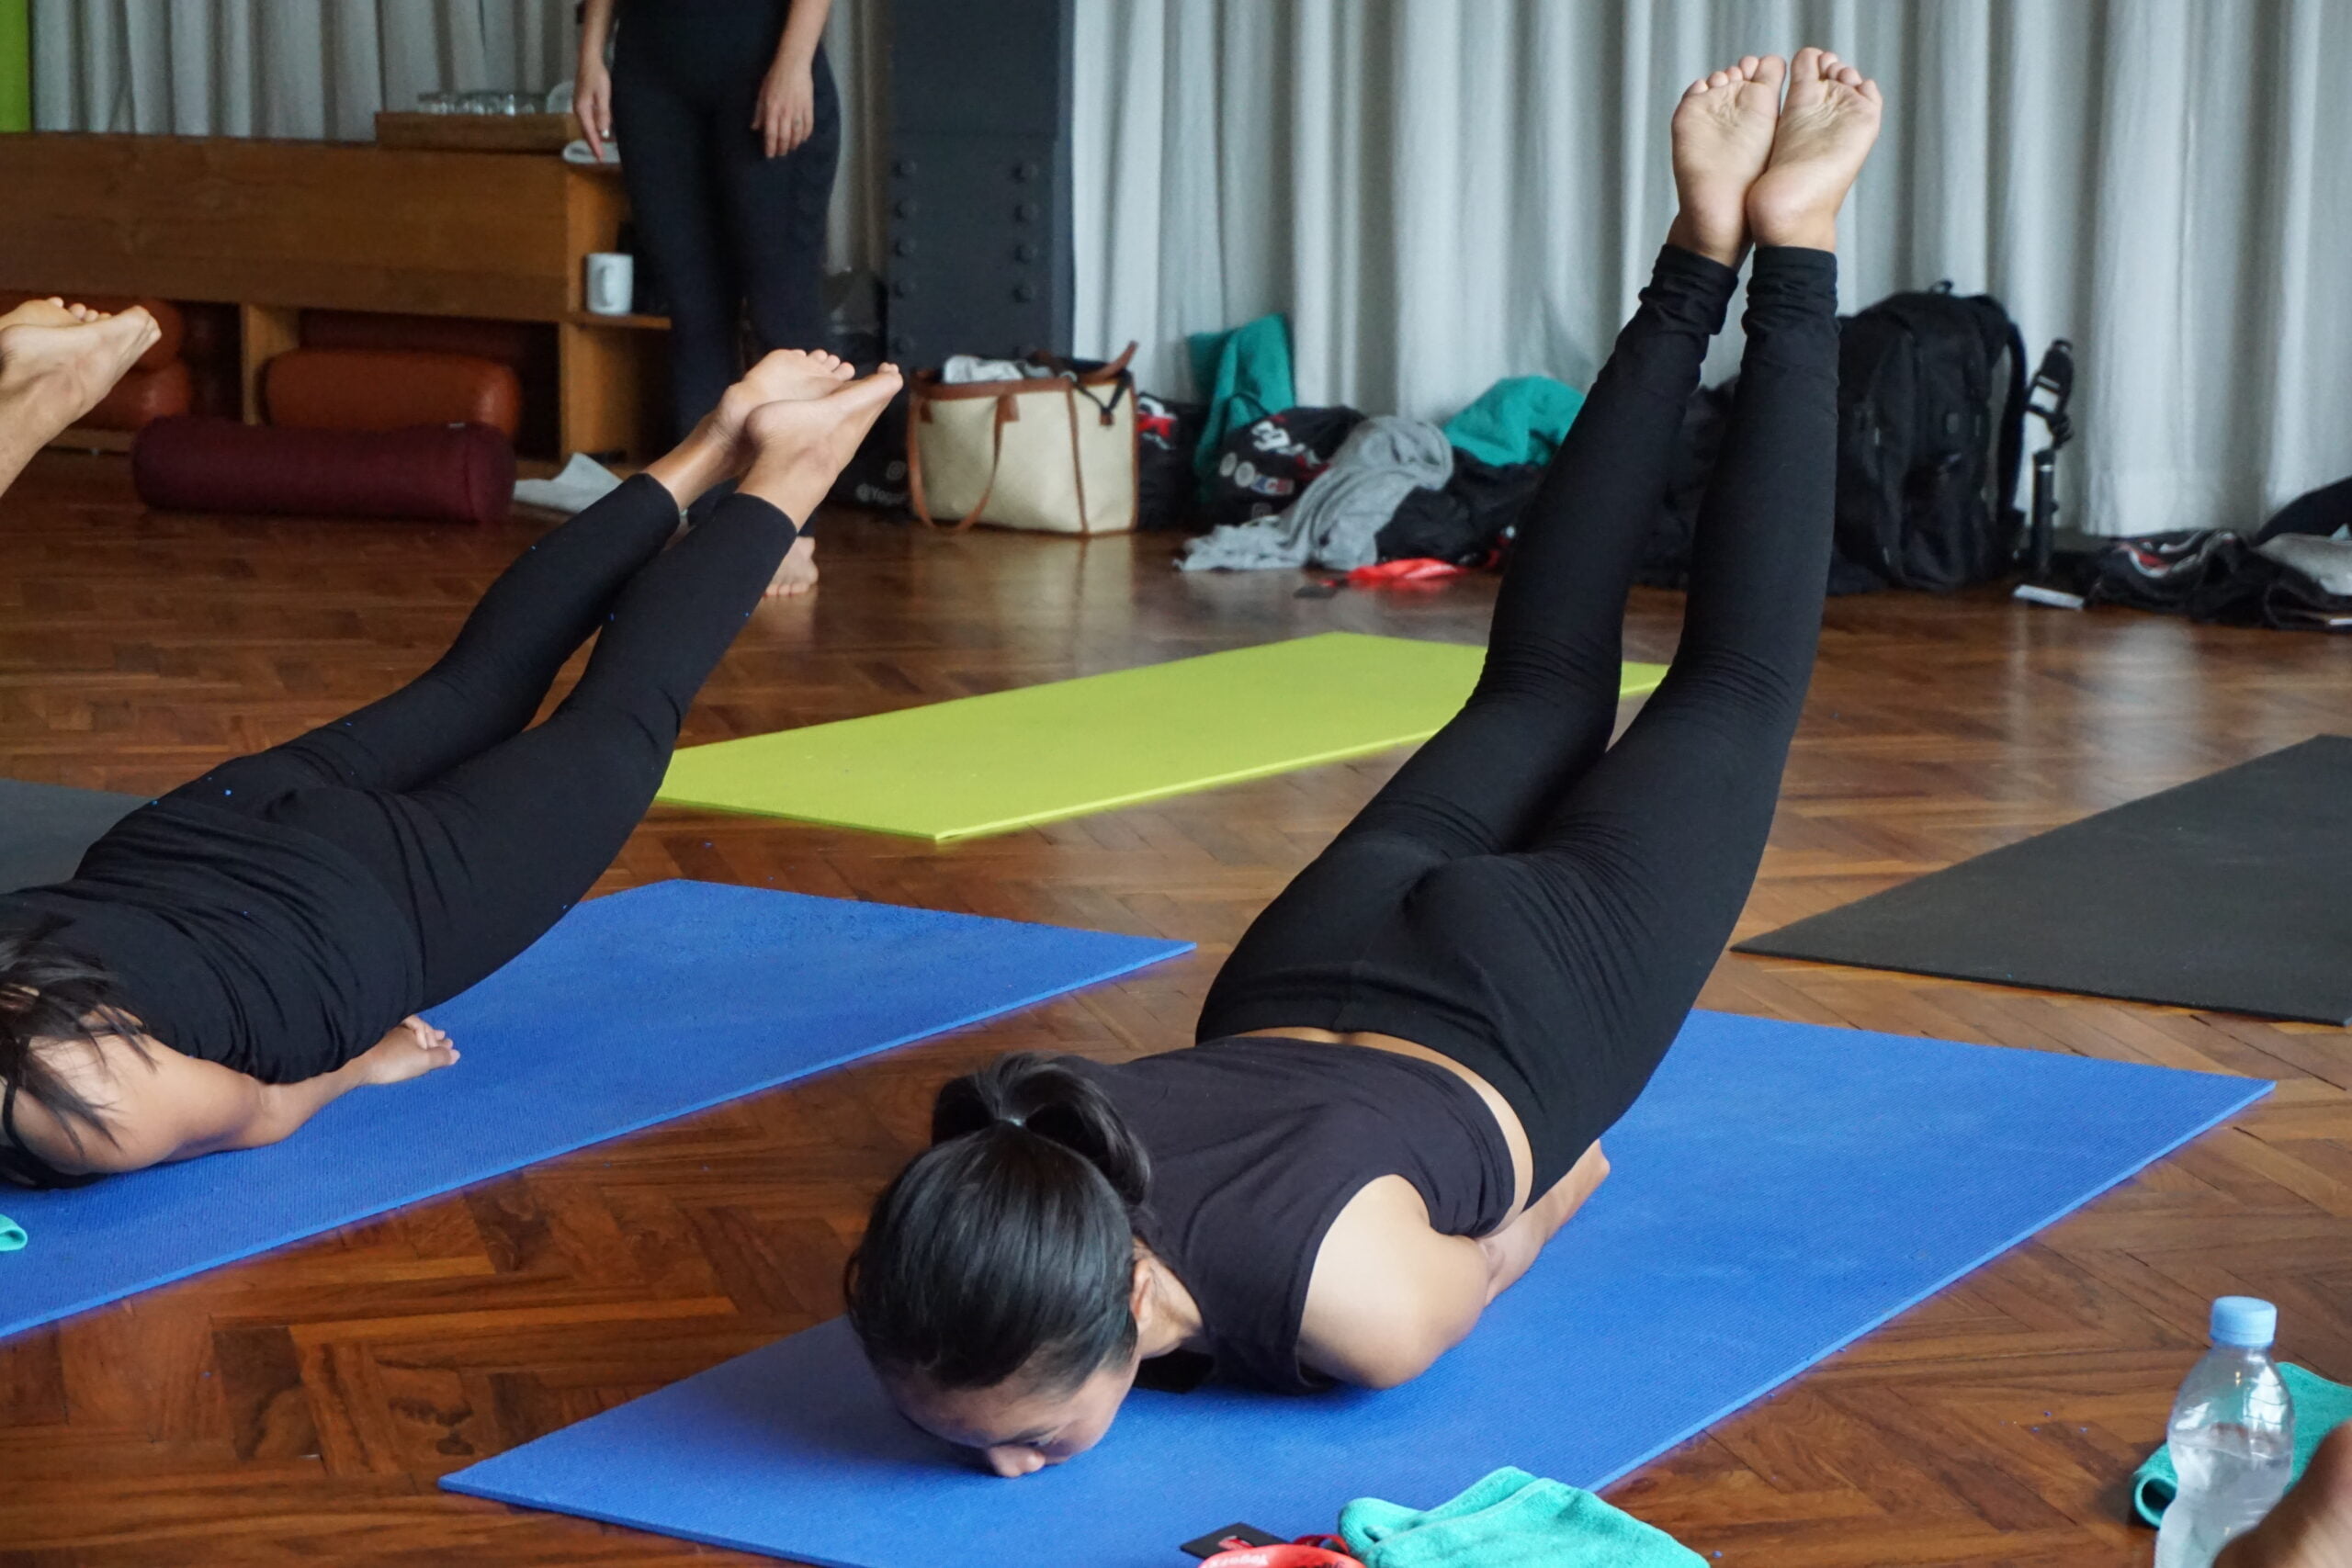
Let’s dive into the 26 Bikram Yoga poses that form the foundation of this transformative practice. Each pose targets different parts of the body and offers unique benefits. From the Standing Deep Breathing pose to the final Savasana (Corpse Pose), every posture in the sequence plays a vital role in cultivating strength, flexibility, and balance. Some key poses include the Half Moon Pose, the Awkward Pose, the Eagle Pose, and the Standing Head to Knee Pose. Each posture is performed with precision, focusing on alignment, breath control, and mindful awareness.
Developing a Bikram Yoga Practice
Whether you are a beginner or an experienced yogi, developing a consistent Bikram Yoga practice requires dedication and commitment. As a beginner, it is important to approach the practice with an open mind and a willingness to learn. Start gradually, allowing your body to adjust to the heat and the demands of the postures. As you become more comfortable, you can gradually increase the intensity and duration of your practice. For experienced practitioners, exploring variations and deeper expressions of the poses can take your practice to new heights.

Enhancing Your Experience
To enhance your Bikram Yoga experience, focus on breath control, also known as pranayama. Deep, intentional breathing can help you relax, find stability, and navigate challenging poses. Cultivate mindfulness and stay present in each moment of your practice, observing sensations in the body and the fluctuations of the mind. Additionally, incorporating self-care practices such as proper hydration, nourishing nutrition, and adequate rest will support your overall well-being and help you get the most out of your Bikram Yoga practice.
Overcoming Challenges
As with any physical practice, challenges may arise during your Bikram Yoga journey. It is important to approach these challenges with patience, compassion, and a growth mindset. Listen to your body and honor its limits, taking modifications or rest when needed. Seek guidance from experienced teachers who can provide personalized adjustments and insights. Remember that progress in Bikram Yoga is a gradual process, and each practice is an opportunity for growth and self-discovery.
Unleashing the Power Within
Through consistent practice of Bikram Yoga poses, you will begin to experience the transformative power within. Not only will your body become stronger, more flexible, and more balanced, but you will also cultivate mental clarity, resilience, and inner peace. The holistic benefits of Bikram Yoga extend beyond the physical practice, touching every aspect of your life. As you unlock the power within, you may find yourself approaching challenges with grace, embracing self-love and acceptance, and living with a greater sense of purpose.
Conclusion: Bikram Yoga Teacher Training with YogaFX
If you are passionate about Bikram Yoga and want to take your practice to the next level. Then consider Bikram Yoga Teacher Training with YogaFX International Yoga Teacher Training Academy, led by Mr. Ian. YogaFX offers comprehensive training programs designed to equip aspiring teachers with the skills, knowledge, and confidence to guide others on their Bikram Yoga journey. Through YogaFX’s Bikram Yoga Teacher Training, you will deepen your understanding of the practice, refine your teaching skills, and become a part of a supportive community of like-minded individuals.
Embark on this transformative path and unlock your potential as a Bikram Yoga teacher. Share the power of Bikram Yoga. Then inspire transformation, and make a positive impact in the world of yoga. Consider YogaFX’s Bikram Yoga Teacher Training as the next step in your personal and professional growth. Your journey to becoming a certified Bikram Yoga teacher begins with YogaFX.
