Are you looking for a Bikram Hot Yoga Teacher Training that truly transforms you into a World-Class Instructor?
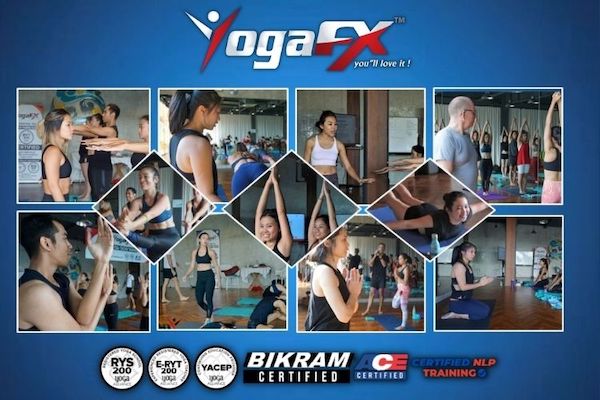
Our training is globally recognized, backed by the prestigious Yoga Alliance certification, which opens doors to teaching opportunities in studios worldwide—not just limited to one organization.
When you choose YogaFX, you’re choosing a training program that’s designed to empower you with deep knowledge, practical skills, and the confidence to thrive as a yoga teacher anywhere.
Our curriculum is crafted by seasoned experts with decades of experience, ensuring you graduate with a comprehensive understanding of yoga that goes beyond just the postures.
Why settle for limitations when you can be part of a global network of teachers, making a difference in the lives of students everywhere? With YogaFX, you don’t just gain credentials—you join a movement.
What is Bikram Hot Yoga And Why It So Popular?
It offers unique physical benefits, such as increased flexibility and strength, mental relaxation and stress reduction.
The heat aids in deep stretching and detoxification, making it an appealing choice for those seeking a challenging and holistic yoga practice.
Take advantage of this fantastic opportunity to kickstart your new career as an International Certified Original Bikram Hot 26 and 2 Yoga Teacher!
Learn From The World’s Best Yoga Teacher
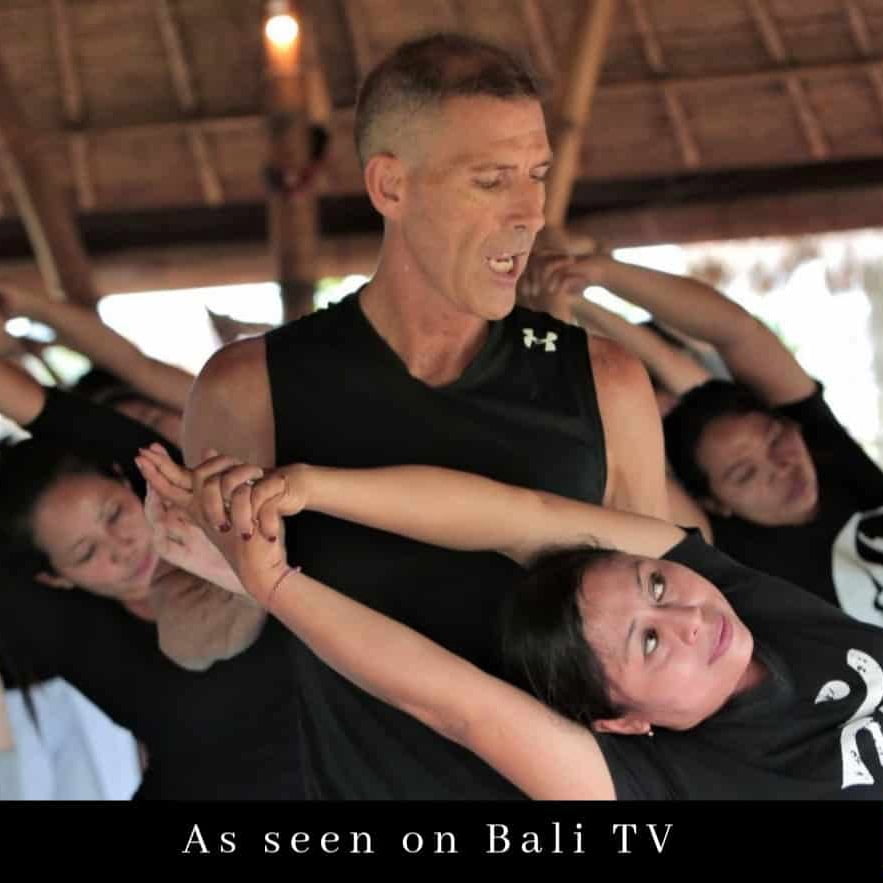
Mr Ian, YogaFX Founder & Hardworker
You will learn firsthand from Mr Ian, the world renowned original Bikram Hot Yoga Master.
Mr. Ian will teach you the tips, tricks and techniques that he has learned from over 8000 Hours of teaching yoga from around the world. This include Five Extensive Yoga Teacher Trainings with Bikram Choudhury, the Bikram Yoga Guru and Founder.
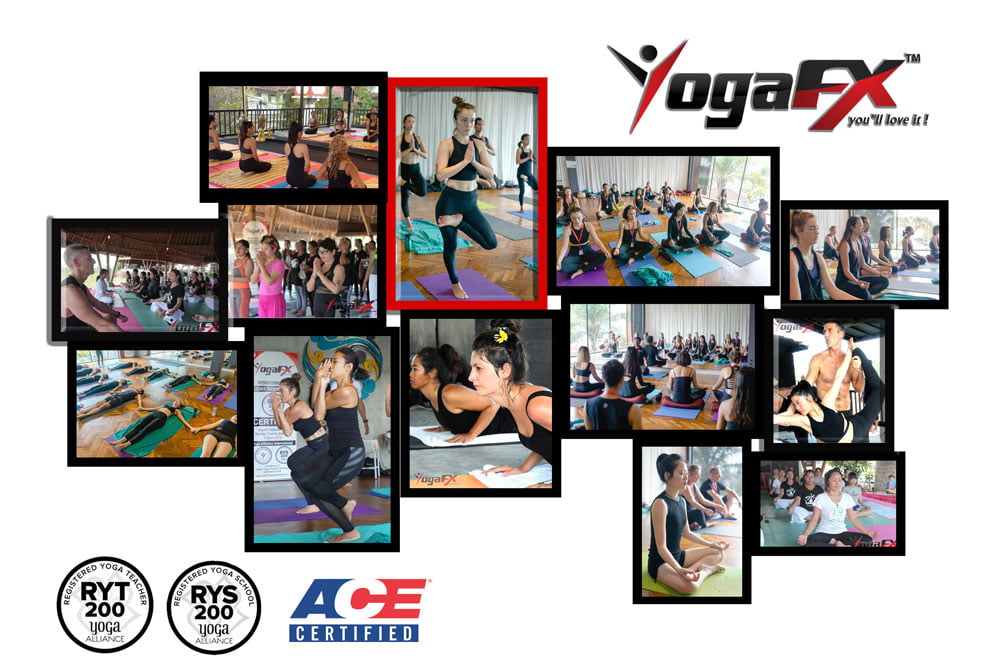
Mr. Ian is the founder of YogaFX International Yoga Teacher Training Academy, which is internationally certified with Yoga Alliance and also approved by the American Council on Exercise.

Upon Your Enrollment, You Will Receive
Exclusive YogaFX Pre-Course Preparation
Once the Online Pre-Course Preparation has been completed you will be fully prepared, confident, and excited to join us in Bali for 6 nights and 7 days.
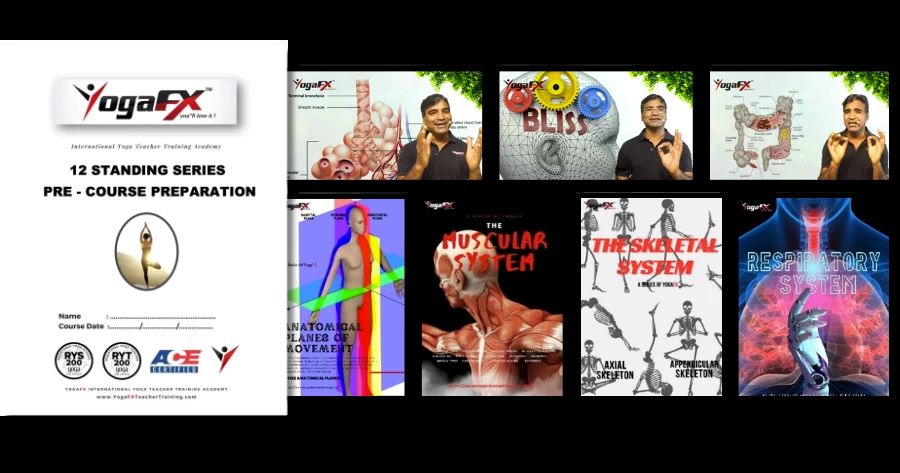
The Full Standing Series and Complete Dialogue
4 Premium Online Yoga Lectures
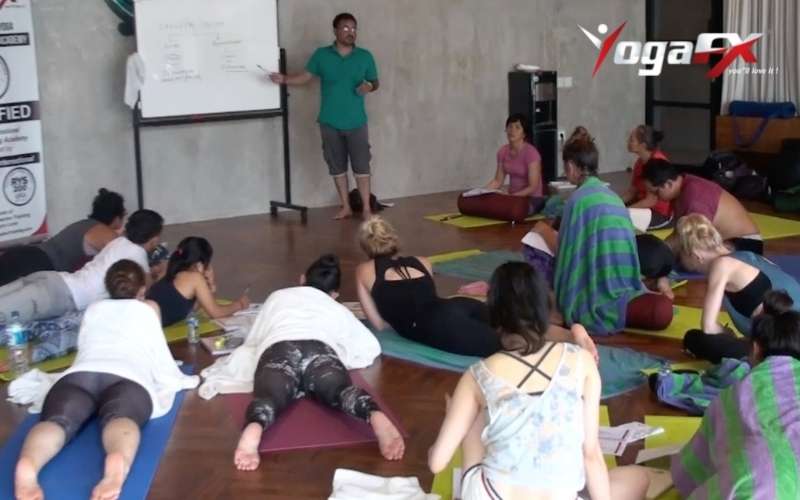
Our 7-Days Bikram Yoga Training Will Be Intensive, Exciting, and Dynamic.
This is a Real Game Changer for you, as you will reduce the amount of time that you need to be away from your job, family, and loved ones.
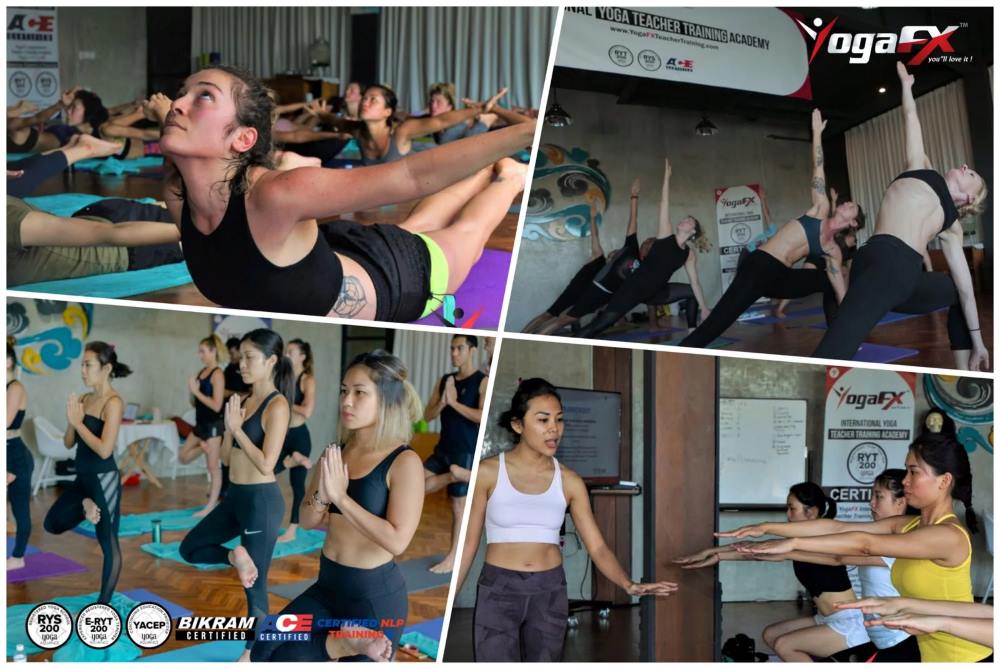
Teaching Real Yoga Students
Two Yoga Classes every day with real yoga students. At the same time getting detailed knowledge of yoga class set up. Such as:
- Bikram Pranayama
- Bikram Opening series
- Bikram Standing series
- Bikram Spine Strengthening
- Floor series and closing sequence.
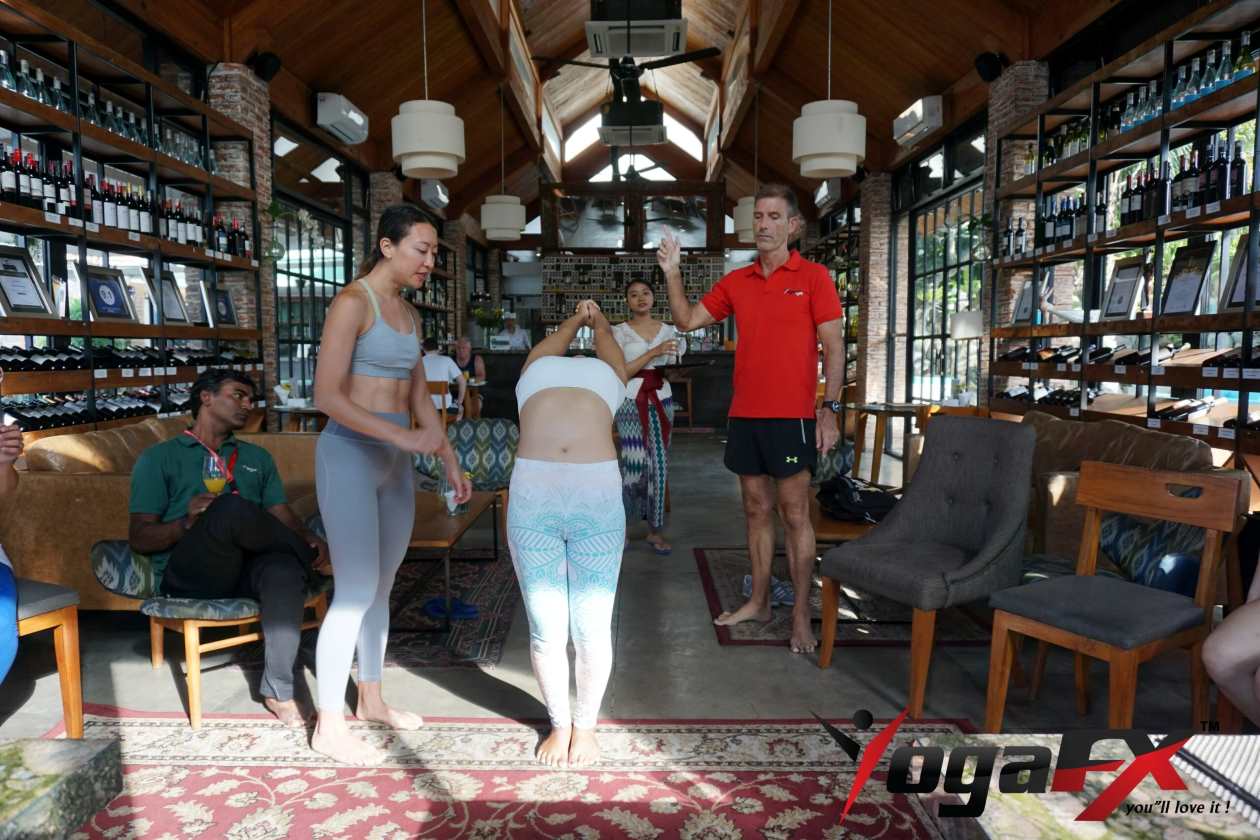
Comprehensive Yoga Lecture
Posture Clinics are real opportunities for you to TEACH YOUR FIRST CLASS with a room full of students. What a great opportunity to break the ice!
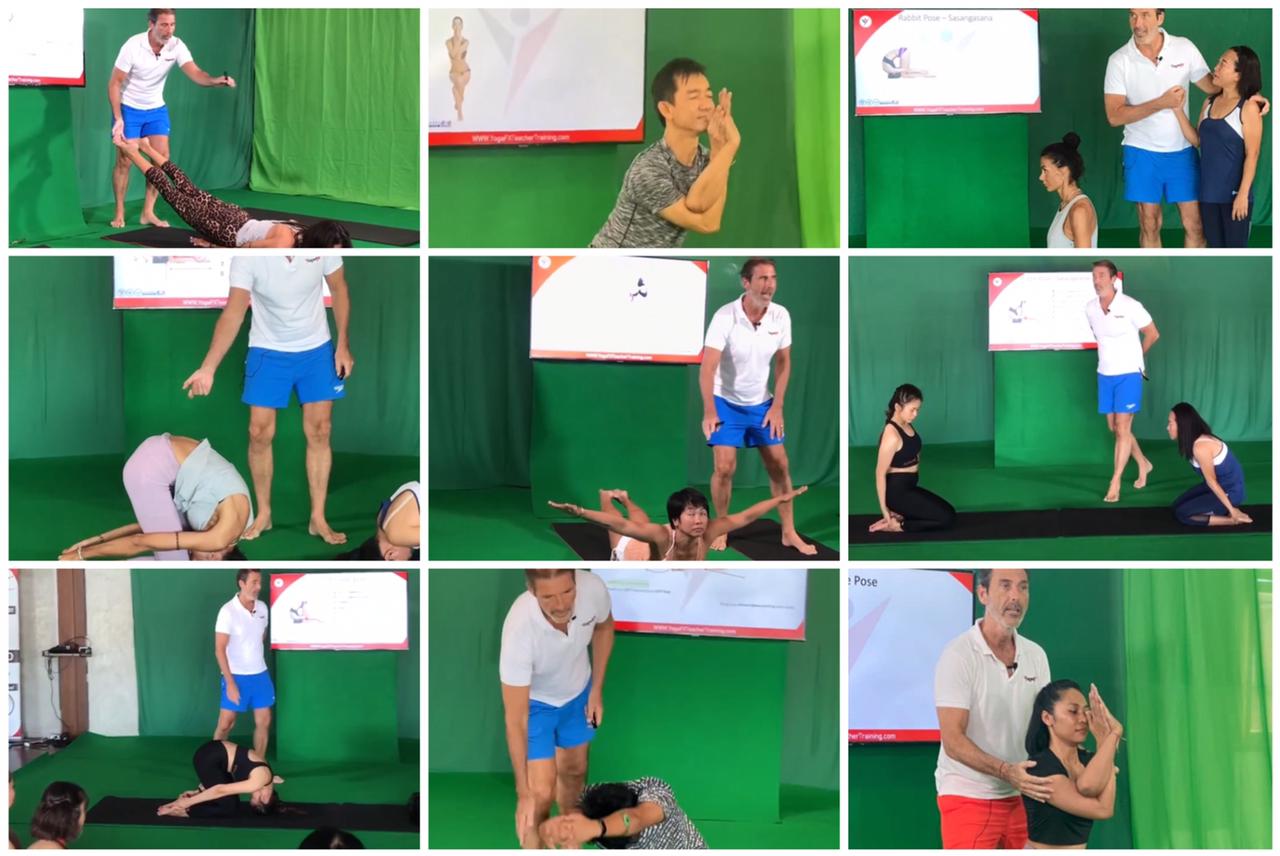
Complete Dialogue Sequence
Also, you will know how to enter the posture, demonstrate and exit the posture in a safe controlled methodical. It’s important knowledge for your yoga teaching career.
Get The Highest Global Standard of Yoga Career
Join the real community of Professional Yoga Teacher arround the world. Not limited to certain sequence and studios.
Upon completion of your course, you will graduate with 2 International Yoga Teacher Certification ✅
🏅 Yoga Alliance RYT 200 Hours Certification
🏅 Bikram Hot Yoga Certification
Watch a sneak peek behind the scenes at our YogaFX Fantastic Graduation Day in 30 sec video.
Bikram Yoga Teacher Training Course Inclusions
You really will be amazed how quickly you will gain confidence and master your Dialogue during our Original Bikram Hot Yoga Teacher Training.
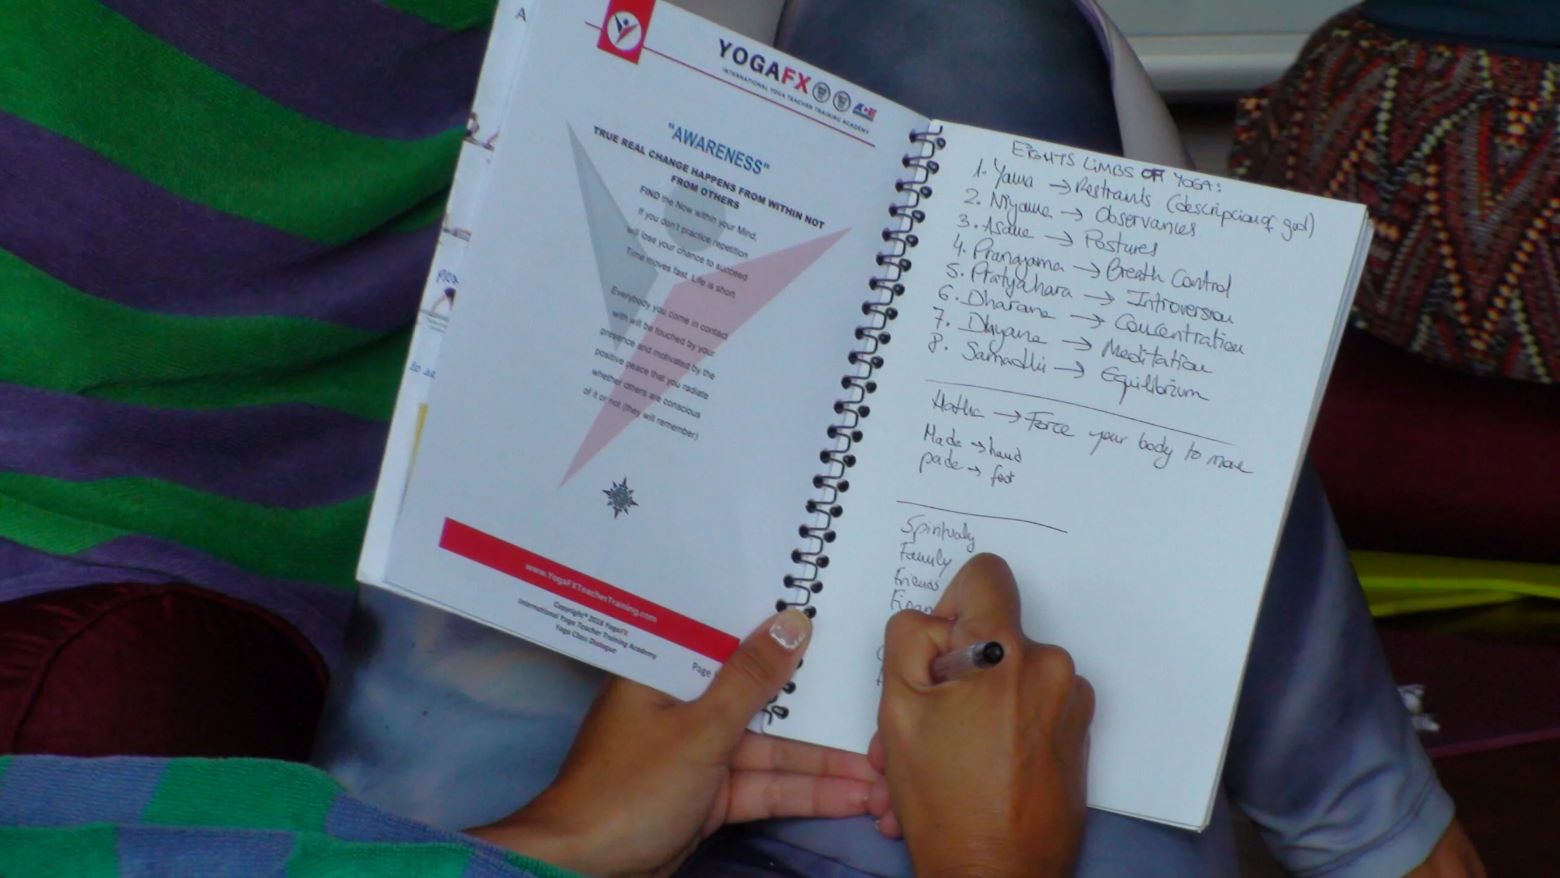
YogaFX Lifetime Yoga Manual E-Book
This exceptional, comprehensive 250-page manual carefully crafted to include. Topics in our YogaFX Lifetime Yoga Manual includes:
- The importance of yoga
- External, internal yoga
- Obstacles of yoga sadhana
- The divine power of the mudras
- Seven chakra energy centers
- Acupressure and much much more
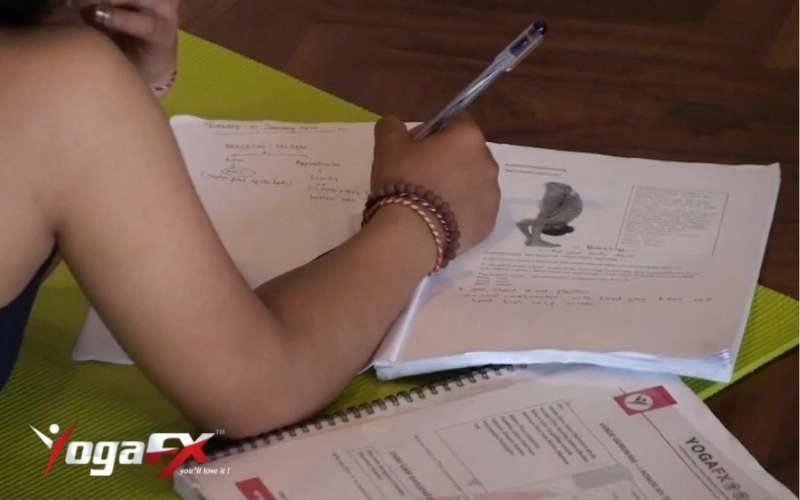
YogaFX Teacher Training Posture Clinic Workbook.
This e-book is one of the two Bikram Yoga training guides that you can print and keep with you throughout your training journey.
This YogaFX at-a-glance quick reference guide is for taking to your class and posture clinics. It will help and detail alignments, adjustments, and posture benefits.
YogaFX 26 and 2 Bikram Yoga Keyword Dialogue
The second important guide for your training is the YogaFX Yoga Class Keyword Dialogue. You can print it and use it anytime. It has the 20 most important yoga teaching keywords to help you when you need them.
This YogaFX Yoga Class Keyword Dialogue guide offers complete, comprehensive, and detailed posture dialogue for a 45-minute, 60-minute, and up to a 90-minute yoga class.
What Do YogaFX Students Say? 5 STAR REVIEWS ⭐⭐⭐⭐⭐


Well-Trained, Professional, and Certified RYT 200 Hour Original 26 and 2 Bikram Hot Yoga Teachers
are very much in demand now and will be in the future.

Bikram Yoga Certification Inclusions:
- Bikram Yoga Posture Clinics
- Two Bikram Classes Every Day
- YogaFX Class Sport Bag & T-Shirt
- 26 and 2 Yoga Dialogue Mentoring
- 3 International Yoga Teaching Certifications
- Exclusive YogaFX Pre-Course Preparation Preview
- 26 and 2 Bikram Yoga Dialogue Portable Companion
- Plus More….
Express Your Interest To Become a Bikram Yoga Teacher
- Save Time & Money
- Once In Lifetime Opportunity
- Dynamic Interactive Lectures
- Real Bikram Teaching Experience
- International Bikram Hot Yoga Opportunities
- This Is Your Time ✅
Frequently Ask Question
Is this an Bikram Choudhury training?
this training is designed by Mr. Ian, the liniage of Bikram Choudhury training, and teaching with him for 5 years. He created this program to cater to the needs of those seeking to deepen their practice of Bikram Yoga while obtaining a recognized Yoga Alliance certification.
As we know, Bikram Choudhury is not affiliated with the Yoga Alliance. For more details, please fill out the registration form and we will get in touch with you via WhatsApp.
Traditional Bikram Choudhury trainings are 9 weeks long, and other Yoga Alliance trainings are typically 3 weeks. Why is this training only 1 week?
We employ a highly efficient hybrid learning method. All theoretical materials are accessible online, allowing us to focus solely on teaching practice during our intensive 1-week in-person session.
This approach enables you to acquire all the necessary knowledge in a shorter timeframe without compromising quality. For more information, please complete the registration form and we will be happy to answer your questions.
Is this training suitable for beginners?
Absolutely! Our program is meticulously designed to welcome individuals at all levels, including beginners. If you’re passionate about embarking on a transformative journey through yoga, this is the perfect place to start.
I've never tried hot yoga before. Can I still join?
Of course! First-timers are more than welcome. Our expert trainers will guide you through the nuances of hot yoga, ensuring you’re comfortable and confident every step of the way.
I'm already a certified yoga teacher with Yoga Alliance. How can this training benefit me?
Great to hear! This training will deepen your understanding of hot yoga and provide you with the tools to teach this specific style. Plus, it’s a fantastic opportunity to expand your network, learn from Mr. Ian’s expertise, and earn additional credentials.
I've been practising Bikram yoga. How is this training different?
While Bikram yoga has its roots in hot yoga, our program offers a comprehensive curriculum that combines ancient yoga traditions with modern teaching techniques. Moreover, upon completion, you’ll be certified by Yoga Alliance International, enhancing your teaching credentials.
What if I want to get certified by Yoga Alliance?
You’re in the right place! Our International Bikram Hot 26&2 Yoga Teacher Training Academy is globally recognised, and upon successful completion, you’ll earn a prestigious E-RYT 200 certification from Yoga Alliance International.
Why should I choose YogaFX for my hot yoga teacher training?
At YogaFX, we believe in more than just the physical postures. Our training delves deep into the philosophy, anatomy, and art of teaching yoga. Whether you’re a beginner, a seasoned practitioner, or an existing Yoga Alliance teacher, our program in the serene setting of Bali is tailored to empower and inspire you.
Have More Questions?
Don’t hesitate to reach out! Contact us directly via WhatsApp for a swift and personalised response. We’re here to guide and assist you on your transformative yoga journey. 🙏✨

